Posts

R E F L E C T I O N

Image
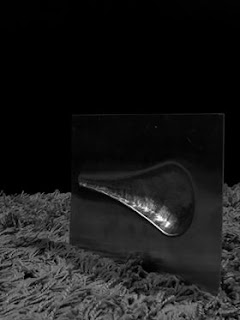
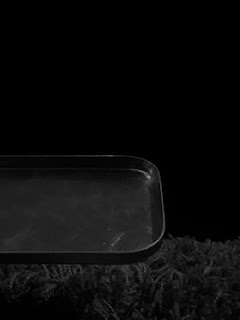
Reflection Looking back on my work my work from each assessment, I could see how the progression and learning process aided me in producing the final project. Figures 1 through 4, highlight the different techniques that would essentially guide us to create a petrol tank at the end of the semester. These small projects allowed us to gain knowledge and learn about techniques in metal making. Techniques included shrinking, stretching, hammer-toning, rolling and bending are just some of the ways in which we created our shapes.  Compare and Contrast of My Work Our first project was the bowl in which we learnt about shrinking the metal to create a semi sphere shape and then stretching the metal to flatten it to create a smooth surface. Combining these two techniques, bending was added to create a torus shape that required bending and shrinking to form the general shape with stretching on the sides. A aesthetic technique was included of hammer-toning, con

THE FUEL TANK

Image
THE  FUEL TANK   RIGHT HAND SIDE STEP 1: MAKE THE TEMPLATE Create a template of your desired petrol tank using the computer-aided program Slicer. This will allow you to create a precise template using laser-cutting technology. With this model carefully placed together use hot glue in all adjacent corners to further its strength. Additionally you could also tape the structure. Creating a template will allow you to monitor your work as you go to check your progress. STEP 2: SELECT SECTIONS Placing paper and trace paper over your model, break your petrol tank up into the appropriate sections and mark them out with a pencil or marker. Then using a sharp blade or scissors, cut around the sections you traced. Now you have your shapes for each section. STEP 3: MARK SECTIONS Using these shapes cut out from step 2, trace and mark them onto your aluminium sheets with a pencil or marker. Then, carefully trace over these markings with a Stanley k
Image
T H E  .  B L I S T E R
Image
T H E  .  T R A Y